Showing posts with label annie sloan chalk paint. Show all posts

Wednesday, February 17, 2016

My New Not So Old French Vitrine

So I've been looking for an antique French vitrine or curio for some time now.  I never have found one that I liked that was for sale prior to the end of last year or at least not at a price point I felt I could afford. Then a couple of months ago, my husband and I visited an estate sale on the 3rd and last day.  Just went for giggles, no big expectations because all of the "good stuff" was probably already gone, right?  Then, what to my wandering eyes did appear but this little cutie.  It was not terribly old, maybe only 20 or 30 years, but it had all of the right lines, beautiful curved glass, and since it wasn't really old, it was in great shape (read NOT a project and a half).  The only reason I could figure it was still there was because it was not a great finish.  Not horrible, just not inspiring.  I asked the lady running the estate sale what she could do on it and it was less than $200.  I snatched it up posthaste and knew it was going to be painted creamy white when I was done with it.  It took a few weeks before I got "a round toit" for the redo, but I finally did it.    This first collage is of the "before". Pardon the messy studio, but it is a work space after all! :-)


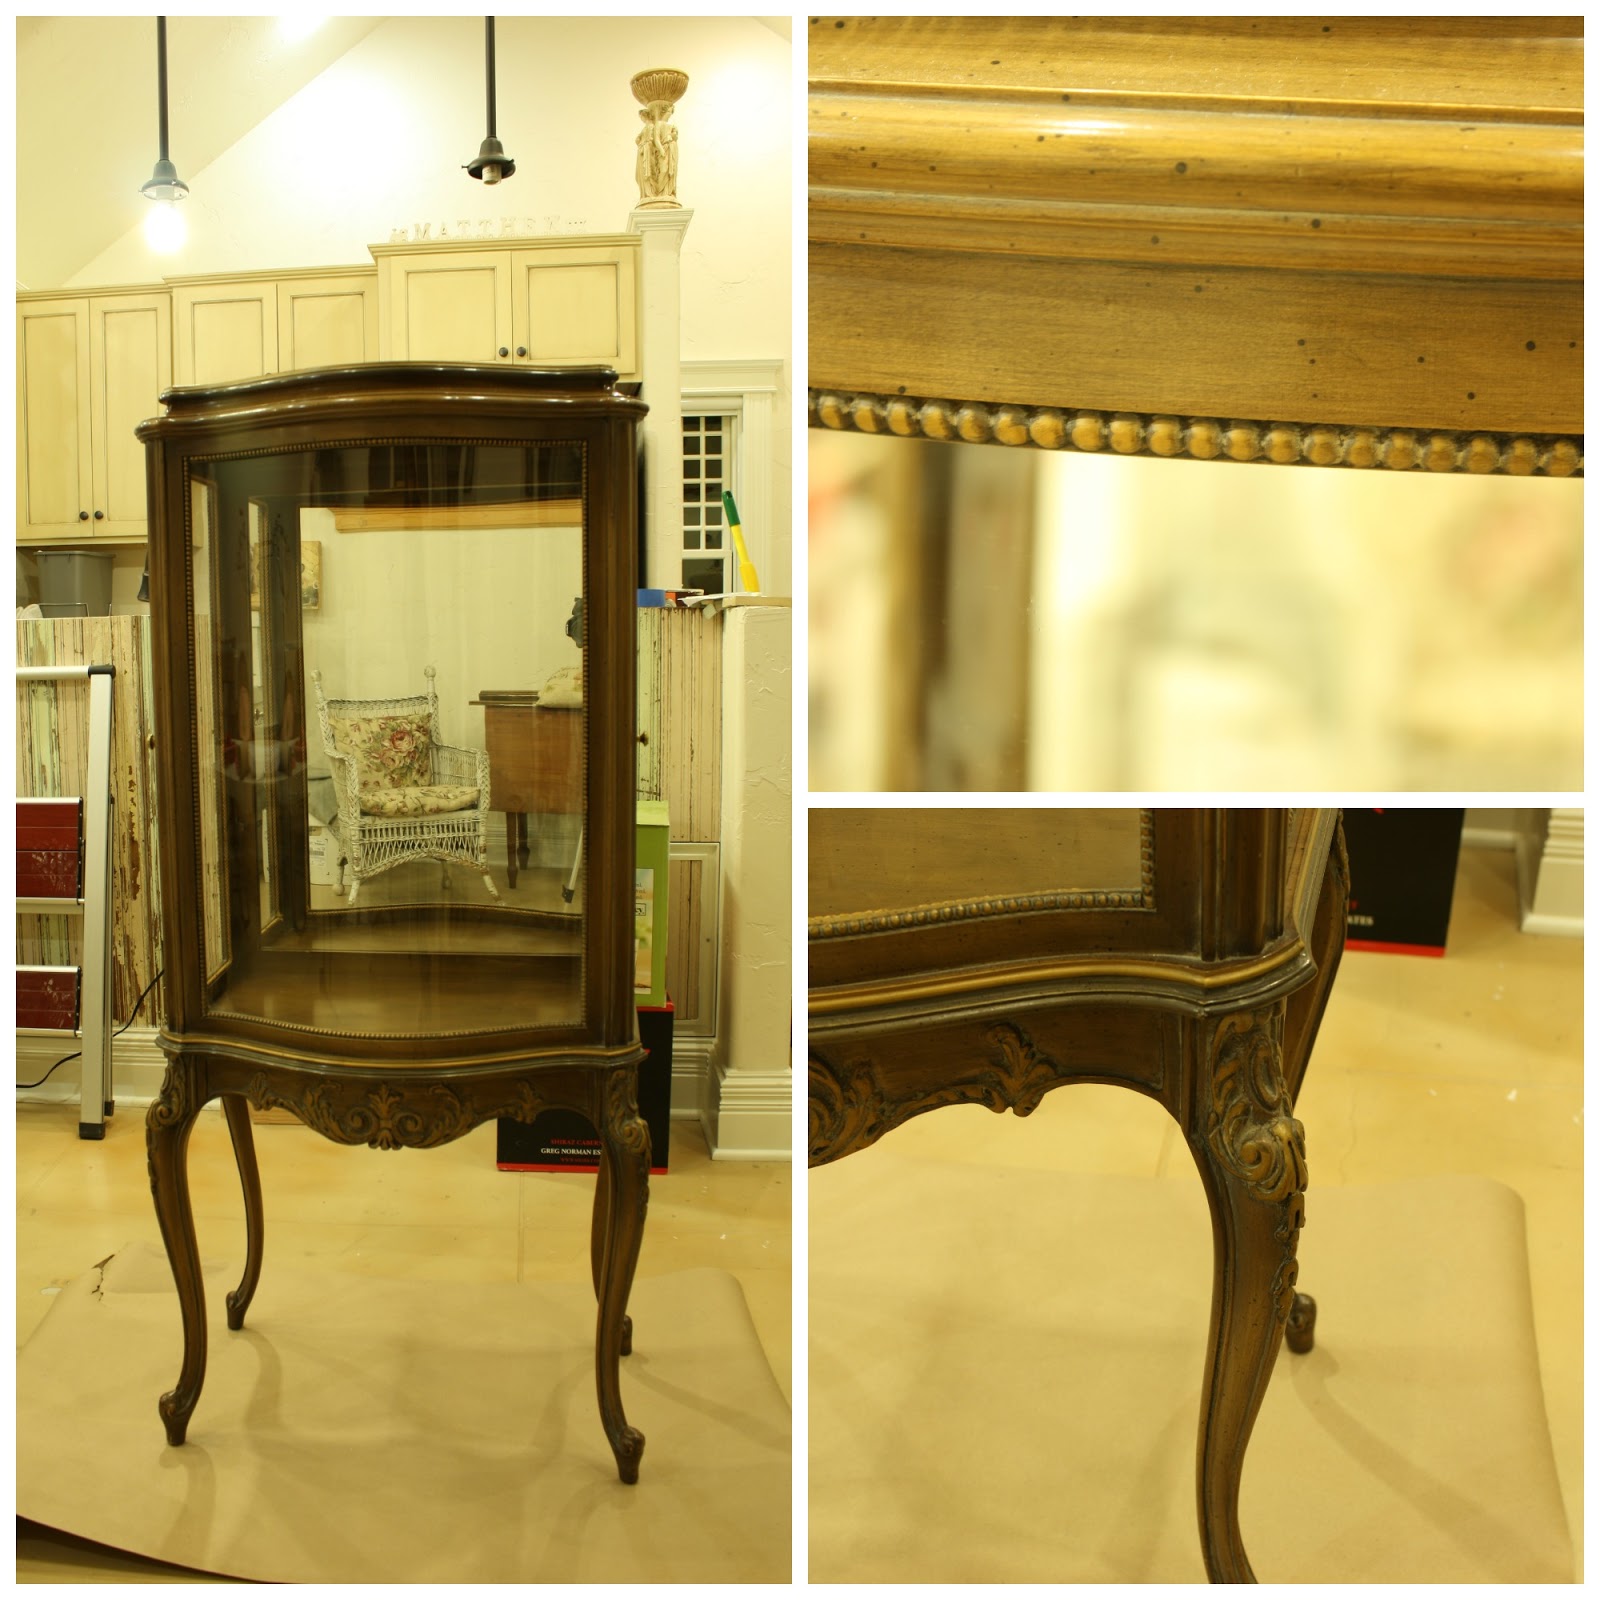
First, I painted her inside and out with Annie Sloan's French Linen.  Already I was starting to like her better.  This color is so yummy and rich, but I wanted it to be white at the end of the day, so I pressed on to get the look I saw in my head.


After it was completely dry, I painted on a layer of plain white Elmer's All Purpose Glue, working in sections.  Just before it was completely dry, I painted Annie Sloan's Old White over top.  After letting it get good and dry, the paint exhibited beautiful crackling, showing off the French Linen underneath.  I lightly sanded a few spots where a piece would show some wear with time.  I kept it pretty subtle since I wanted an authentic look, not overdone. I gave the whole piece a light sanding with 220 grit sandpaper and then wiped it down with a damp paper towel.


I then sealed the piece with A.S. clear wax. I resisted purchasing Annie Sloan's wax for years due to the cost, but my local stockist had a small can that allowed me to try it out without shelling out QUITE so much money and I have to say, it is well worth the money.  It goes a long way and is SO soft and creamy. When hardened, it yields a very nice and durable finish.  I also hit a few of the crevices and lightly on the body with some dark wax.  I actually had Miss Mustard Seed's Antiquing Wax on hand, so I used that rather than buying yet another thing to store.Next came the addition of French gilding wax purchased from the A.S. stockist, although the brand is not Annie Sloan, it is actually a product by the French company Pebeo. I used the classic gold.  I wanted to highlight all of the beautiful carving but also saw that is would be prettier if it had some gold around the top.  I just applied it with my finger and got in the tight spots with a small artist paint brush.  This stuff goes on like "buttah" and makes such a nice accent-it also takes VERY LITTLE to get a great look, so although the price for a tiny jar is somewhat off putting, it is more than enough for many projects . Make sure you apply it AFTER any final clear wax coat you want to add since clear waxing over the gilding wax will remove the gilding.


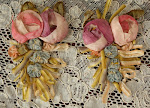
I'm so pleased with how it turned out.  Here it is, in all it's glory, holding many of my beautiful ribbon work treasures.


So many pretties.  And now I get to gaze at them all of the time.


Speaking of ribbon work, if you'd like to see the article I wrote for the Journal of Antiques and Collectibles but hadn't had a chance to get it, here is a link to the online article. Enjoy...


Until next time,
Pin It!

Thursday, June 21, 2012

No Dear, the Irony is NOT Lost on Me...


 So Peeps,

Tell me...you can be honest.  Have you ever bought a little something, say, a cute stool, and it was old and chippy, and dirty and good bones but kinda distressed.  And then, you spend say a couple of hours over a couple of days a couple of times "refreshing" the piece, only to realize you now had a little something, say, a cute stool, that was old and chippy, and dirty and good bones but kinda distressed?  Only somehow your new and improved version was still better because it was clean and cuter on some level?

Not that that scenario has EVER happened to me...


I was just wondering about you guys...


And apparently, I couldn't stop taking pictures.


Now that she's been redone, I may have to find a place for her in my home...


But, since space is at a premium...


there's a good chance you will see her...


in an Etsy shop near you.  Specifically, Elegant Farmhouse.


Very soon...


In all of her chippy and distressed glory.  Annie Sloan Chalk Paint and clear and dark waxes rock!


 I'm glad you all "get me".  Mr. FL and I did have a nice laugh over this one though.  I missed taking "before" pictures, but trust me, it was worth the do-over.  Really.


Until next time,


Linking up with:
Feathered Nest Friday
Home Sweet Home
Vintage Inspiration Friday
Shabbilicious Friday

Pin It!

Thursday, May 17, 2012

This Week's Tresors and a Couple of Quick Projects


Gee, I feel like I've not been doing much but show and tell of my shopping pursuits lately.  While that may be true, I do want to show you what I found last weekend.  The photo above shows the sugar dish of the sugar and creamer I found.  It is so pretty and would you believe I found it at a yard sale?  For $1 for both pieces?  I didn't need it, but how could I refuse?  I rarely find anything like that for that kind of price.  I fell in love with those roses~ YUM!


The other pieces I got at a new European market that they are trying to get started here in my town.  It was cool and I found a few goodies.


How cool is this doorknob?  Yes, Michelle, I will be making an inspiration holder with it. 


I simply cannot seem to resist pretty vintage millinery pieces...


or pretty lace.


Isn't this just the sweetest little pincushion?


J'adore the pretty pins that will be added to my "stash" for when I begin rocking the jewelry maker thing.  Whenever that might be... My girlfriend had the two pins on the cards in her booth.  Isn't it cute how she dolled up the cards they are on?


I was utterly enchanted by this little shelf and she's already gotten a makeover with my first attempt at Annie Sloan's Chalk Paint.  I'll show you that later.


An exquisite antique silk glove box. 


A set of Victorian curtain rods.  I'm going to try to put them in my studio.  If they don't work, they may end up in my Etsy shop. I've always wanted some of these and the chippy white with the gold peeking through just called my name.

I was really in love with that little shelf, so I couldn't wait to do it up the way I wanted it with the ASCP sample pots I bought.  You'd think that with all of the hype online about the chalk paint that I would have known exactly what to do, but as usual, I just kind of did my own thing and flew by the seat of my pants.  All in all, I like the way it turned out.  I hadn't planned on it being quite so distressed looking, but obviously, that's what spoke to me because that is how I did it!  Here is before once again...


And here is after...


I just love all the little details of this shelf, don't you?  I find it's form very pleasing to my eyes.


I did another mini-redo this week.  I'm not sure it is really blogworthy, but I will show you anyway.  I have these old sconces in my bathroom which I love.  I added the little shades many years ago and spruced them up with the green trim.

The shades had started to yellow and were looking a little shabby, not so chic, so when I saw this awesome button trim at Hobby Lobby, I knew what I wanted to do.  Honestly, had some new white linen shades just fallen into my lap, I probably would have purchased them and started fresh, but I wasn't much in the mood for hunting for these little guys, so I got out my trusty craft paint in a soft white and some additive that you use to make craft paint fluid enough to paint on fabric.  Delta makes it I think, and it is quite handy to have on hand.  I painted the shades so they were once again white, left the green trim where it was because I still like it, and glued on the new trim to the underside of the shade.  It adds a touch of whimsy so I'm happy. 


 It still looks like it could maybe use a little something else, but since these are the primary source of light on either side of the sink, I decided to leave well enough alone, at least for now.  I didn't want to interfere with their light casting abilities.  Maybe a tone on tone all over stencil would work?  For today, I'm calling it good enough.  It probably isn't my most exciting project, but it is done, which is more than I can say for most of the ideas that have been rattling around in my head but haven't yet been tackled.

Hope you all have a good weekend tackling some of your own spring projects.

Until next time,


Linking up with:
Vintage Inspiration Friday
Time Travel Thursday

Pin It!