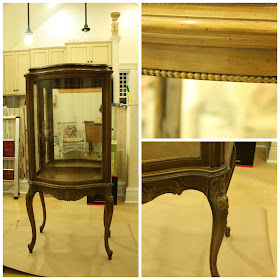
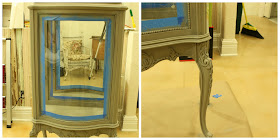
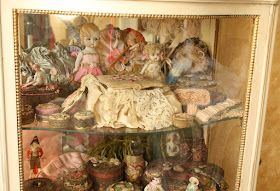
First, I painted her inside and out with Annie Sloan's French Linen. Already I was starting to like her better. This color is so yummy and rich, but I wanted it to be white at the end of the day, so I pressed on to get the look I saw in my head.
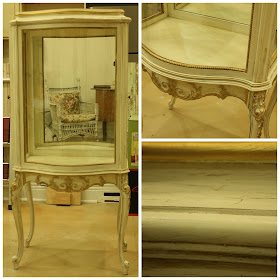
After it was completely dry, I painted on a layer of plain white Elmer's All Purpose Glue, working in sections. Just before it was completely dry, I painted Annie Sloan's Old White over top. After letting it get good and dry, the paint exhibited beautiful crackling, showing off the French Linen underneath. I lightly sanded a few spots where a piece would show some wear with time. I kept it pretty subtle since I wanted an authentic look, not overdone. I gave the whole piece a light sanding with 220 grit sandpaper and then wiped it down with a damp paper towel.
I then sealed the piece with A.S. clear wax. I resisted purchasing Annie Sloan's wax for years due to the cost, but my local stockist had a small can that allowed me to try it out without shelling out QUITE so much money and I have to say, it is well worth the money. It goes a long way and is SO soft and creamy. When hardened, it yields a very nice and durable finish. I also hit a few of the crevices and lightly on the body with some dark wax. I actually had Miss Mustard Seed's Antiquing Wax on hand, so I used that rather than buying yet another thing to store.Next came the addition of French gilding wax purchased from the A.S. stockist, although the brand is not Annie Sloan, it is actually a product by the French company Pebeo. I used the classic gold. I wanted to highlight all of the beautiful carving but also saw that is would be prettier if it had some gold around the top. I just applied it with my finger and got in the tight spots with a small artist paint brush. This stuff goes on like "buttah" and makes such a nice accent-it also takes VERY LITTLE to get a great look, so although the price for a tiny jar is somewhat off putting, it is more than enough for many projects . Make sure you apply it AFTER any final clear wax coat you want to add since clear waxing over the gilding wax will remove the gilding.
I'm so pleased with how it turned out. Here it is, in all it's glory, holding many of my beautiful ribbon work treasures.
So many pretties. And now I get to gaze at them all of the time.
Speaking of ribbon work, if you'd like to see the article I wrote for the Journal of Antiques and Collectibles but hadn't had a chance to get it, here is a link to the online article. Enjoy...
Until next time,
